Table of Contents
- Why Your Logo Looks Blurry in Print: Vector vs Raster for Printing
- Minimum DPI for Screen Printing and Other Methods
- How to Convert PNG to Vector for a Scalable Logo
- Step-by-Step: Fixing Your Low Resolution Logo
- Preparing Your File for Professional Printing
- When to Hire a Professional vs. DIY
- Frequently Asked Questions
Last Updated: September 6, 2026
Why Your Logo Looks Blurry in Print: Vector vs Raster for Printing
A low resolution logo is the most common reason a print job comes back soft, pixelated, or unprofessional. When you send a small PNG, the machine can only reproduce the pixels it has, and stretching them makes the blurriness obvious. The fix starts with understanding vector vs raster for printing.
Vector graphics are mathematical paths; raster images are grids of pixels. A vector logo scales to any size without losing sharpness, while a raster image degrades when enlarged. This guide explains why that matters and how to fix a low resolution logo before it reaches the press.
How Pixels and Resolution Affect Print Quality
Print quality depends on pixels per inch, measured in DPI or PPI. A logo crisp on screen at 72 PPI will show jagged edges on fabric (printingforless.com). When pixels are stretched, the printer interpolates missing data, producing soft edges and a hazy appearance.
A logo that looks fine in an email signature will look terrible on a 20-inch banner. You cannot recover detail never captured in the original file, so the most reliable fix is rebuilding the logo as a scalable vector file. Most print shops work from vector files because they guarantee clean edges at any size.
Minimum DPI for Screen Printing and Other Methods
The minimum DPI for screen printing is typically 200-300 DPI at final printed size. For most professional methods, including digital printing and embroidery digitizing, 300 DPI is the standard for smooth curves and sharp text. If your logo is smaller than the final print size at 300 DPI, the printer cannot add detail that does not exist.
A common mistake is assuming a high-resolution file can be shrunk and enlarged again without consequence. Resolution is fixed when the file is created, and resizing downward discards pixels permanently. Check the file’s pixel dimensions and calculate whether they support 300 DPI at your target size. If not, upscale the raster image or convert it to a vector file.
How to Calculate Required Pixel Dimensions for Any Print Size
Use this formula to determine whether your file will hold up at a given print size:
Required pixel width = Print width (in inches) × Target DPI
A 300 DPI print that is 10 inches wide needs a file at least 3,000 pixels wide; a 2-inch business card logo only needs 600 pixels. A 1,000-pixel logo prints perfectly at 3.3 inches at 300 DPI but only supports 6.6 inches at 150 DPI. This is why a logo that works for a business card may fail on a 24-inch banner.
DPI Requirements by Viewing Distance
The 300 DPI rule applies to items viewed at arm’s length, business cards, letterhead, brochures, and small decals. Large-format printing follows different logic because viewing distance increases with size. A 10-foot banner viewed from across a parking lot needs roughly 100 DPI at full size. The table below reflects industry-standard minimums:
| Print Method | Recommended Minimum DPI | Best File Format | Typical Viewing Distance |
|---|---|---|---|
| Screen Printing (apparel) | 200-300 DPI | Vector (EPS, AI, SVG) | Arm’s length |
| Digital Printing (flyers, posters) | 300 DPI | Vector or high-res PDF | Arm’s length to a few feet |
| Embroidery (digitizing reference) | 200 DPI | Vector preferred | Arm’s length |
| Large Format Banners (over 3 feet) | 100-150 DPI at full size | Vector or high-res TIFF | 10+ feet |
| Vehicle Wraps | 75-100 DPI at full size | Vector preferred | 20+ feet |
Why Printers Reject Files That Look Sharp on Screen
A file can look crisp on your monitor and still be rejected. The most common rejection reasons are not about DPI at all:
- File is in RGB color mode. Most digital printers convert RGB to CMYK automatically, but the conversion can shift colors unpredictably. Many shops reject RGB files outright to avoid color-matching disputes.
- Fonts are not converted to outlines. If a printer opens your file and the font is missing, the software substitutes a default font, which can change the logo’s proportions or break letter spacing. Convert all text to vector outlines before sending.
- The file contains embedded effects that flatten incorrectly. Drop shadows, transparency, and gradients in a PDF may rasterize at a low resolution when the printer’s software processes the file, even if the original vector art was clean.
- The canvas size is smaller than the print area. A 1,000 × 1,000 pixel file at 300 DPI only supports a 3.3-inch print. If you request a 5-inch decal, the printer must upscale the file, which degrades quality.
Before sending any file to a print provider, ask for their artwork specification sheet. Most professional shops publish exact requirements for DPI, color mode, file format, and font handling. Matching those specs on the first submission saves days of back-and-forth.
The One Exception: Line Art and Halftones
Line art, pure black-and-white shapes with no grayscale, can sometimes print at lower DPI because the printer only reproduces hard edges. This only applies if the file is a true bitmap with no anti-aliasing. Most logos with gradients or soft edges do not qualify. When in doubt, treat 300 DPI as the floor for anything under 12 inches.
How to Convert PNG to Vector for a Scalable Logo
Converting a PNG to vector is the most reliable way to fix a low resolution logo because it replaces the pixel grid with mathematical curves. This process, called vector tracing, recreates shapes using bezier curves. Once converted, the file scales to any dimension without losing sharpness.
There are two main paths: automated tracing tools and manual recreation. Automated tools work well for simple logos with flat colors and clean edges. Manual tracing is necessary for complex designs, gradients, or fine typography that automated tools distort.
Manual Vector Tracing vs. Automated Tools
Automated tracing, like Adobe Illustrator’s Image Trace, analyzes the pixel image and generates vector paths. It works best on high-contrast logos with solid colors and minimal detail. The output often needs cleanup, including removing stray nodes and simplifying complex paths.
Manual tracing involves redrawing the logo from scratch with the pen tool and bezier curves. It takes longer but produces the cleanest result, especially for custom lettering or intricate details. For logos with gradients or photographic elements, manual recreation is often the only way to achieve a true vector result.
Step-by-Step: Fixing Your Low Resolution Logo
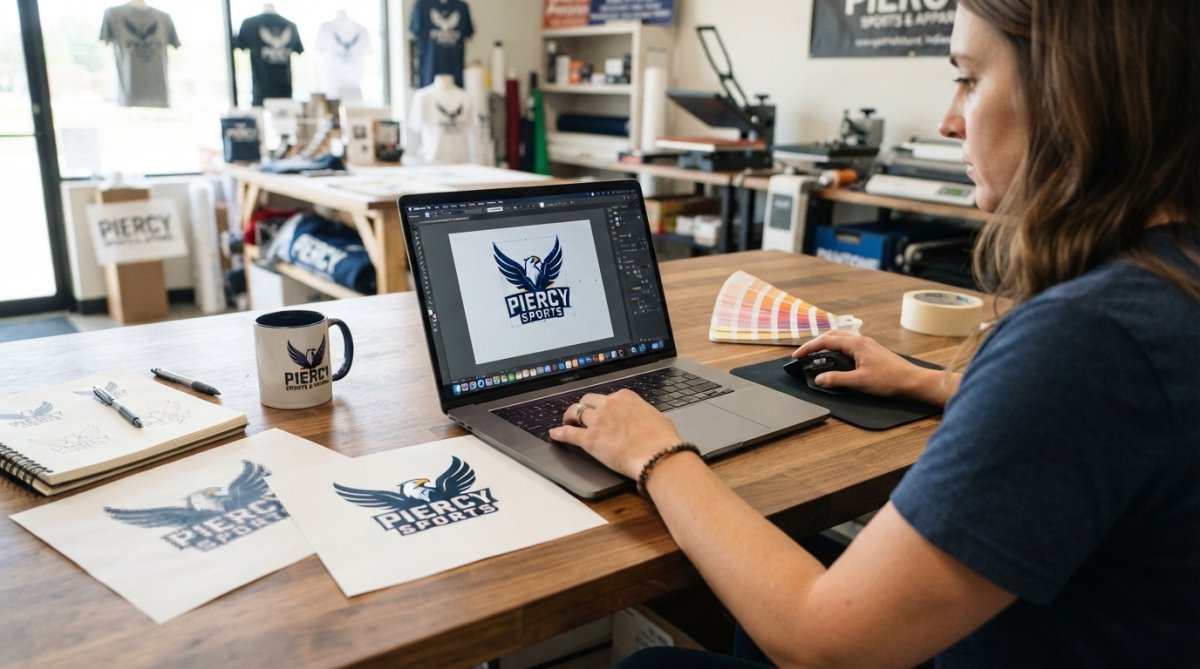
Fixing a low resolution logo follows a straightforward sequence: assess the original file, upscale if needed, then convert to a vector format. Here is the process we recommend before sending artwork to print.
Step 1: Assess the Original File
Open the file in an image editor and check its pixel dimensions. Right-click and select Properties on a PC, or Get Info on a Mac, to view resolution. Determine your final print size and calculate whether the file supports 300 DPI at that size. For a small chest print, a moderately sized PNG may work; for a jacket back or banner, you likely need a vector file.
Step 2: Upscale the Image
If the logo is close to the required resolution, AI-based image enhancers can interpolate missing pixels. Upscaling works best on moderately low resolution logos; a severely pixelated logo will still look soft because the AI cannot invent detail that was never there. Use upscaling as a stopgap, not a permanent fix.
Step 3: Convert to a Vector File
The definitive fix is converting the logo to a vector format like SVG, EPS, or AI. Use tracing tools in your design software, or hire a professional to redraw it manually. The resulting file will print cleanly at any size. Save with the correct color profile and send it to your print provider.
Do not send a screenshot of a logo to a print shop. Screenshots capture only the on-screen resolution, which is typically 72 PPI, far below the minimum needed for print. The printer will reject the file or produce a visibly pixelated result.
Preparing Your File for Professional Printing
Once you have a vector file, prepare it for the specific printing method: confirm the file format, check the color mode, and ensure all fonts are converted to outlines. A well-prepared file prevents delays and ensures the printed result matches your brand colors. Print providers can guide you, but understanding these steps helps you avoid mistakes.
Color Profiles: CMYK vs. RGB
RGB is the color model for screens; CMYK is used for printing. A logo designed in RGB will look different when printed. Convert your file to CMYK before sending it to ensure colors come out as close to your brand as possible. Some providers convert automatically, but the shift can be unpredictable, so converting in advance gives you more control.
Spot colors, such as Pantone, offer the most accurate color matching for screen printing. If your brand relies on a specific color, ask your provider whether they can match a Pantone reference. This is especially important for team uniforms where consistent colors matter.
The Mechanics of Color Conversion: Why RGB to CMYK Shifts Colors
RGB is additive, your screen emits red, green, and blue light. CMYK is subtractive, ink absorbs light, and colors are created by layering cyan, magenta, yellow, and black. Some RGB colors, especially bright neon greens and vivid blues, fall outside the CMYK gamut entirely. When converted, they are mapped to the closest printable equivalent, which often looks duller or darker.
To minimize the shift:
- Convert to CMYK in your design software, not in the print shop’s RIP. Adobe Illustrator and InDesign use different conversion engines than a printer’s raster image processor. Converting yourself gives you control over the rendering intent.
- Use the correct CMYK profile. For most US commercial printing, the standard is GRACoL 2006 (also called CGATS TR 003) (idealliance.org). For newsprint or lower-grade paper, ask your printer for their recommended profile. Sending a file with an embedded profile that does not match the printer’s press can cause unexpected shifts.
- Check for out-of-gamut warnings. In Adobe Illustrator, use View > Proof Setup and enable Gamut Warning to see which colors will shift. Adjust those colors manually before sending the file.
File Format Decision Guide: Which Vector Format to Send
Not all vector files are equal when it comes to print production. Here is how the common formats compare:
| Format | Best For | Watch Out For |
|---|---|---|
| EPS | Screen printing, legacy workflows, most print shops | Does not support transparency well; older format |
| AI | Source files, editing later | Requires Adobe software to open; not all printers have it |
| PDF (vector) | Most versatile; preferred by many print providers | Must ensure fonts are embedded or outlined; check that no raster effects are hiding in the file |
| SVG | Web and some digital printing | Many commercial print RIPs do not accept SVG directly; convert to PDF or EPS first |
| High-res TIFF | Large-format raster printing | Only if you cannot produce a vector; must be 300 DPI at final size |
Troubleshooting Common Printer Rejection Errors
Even a perfectly converted vector file can be rejected. Here are the most common errors and how to fix them:
- “Font not found” or “Missing fonts”, Convert all text to outlines (Type > Create Outlines in Illustrator) before saving. This turns letters into vector shapes that do not depend on the printer having the same font installed.
- “Image resolution too low”, This error appears when a PDF contains embedded raster images below the printer’s DPI threshold. Check every element in your file, not just the logo. A logo with a drop shadow that was applied as a raster effect will trigger this error even if the vector paths are clean.
- “Color mode not supported”, The printer expects CMYK but your file is RGB. Convert the color mode in your design software before exporting.
- “Transparency not supported”, Some older RIPs cannot process PDF transparency. Flatten transparency (Object > Flatten Transparency in Illustrator) or export as a PDF/X-1a file, which flattens automatically.
- “Bleed missing”, If your logo extends to the edge of the printed piece, the file must include bleed, typically 0.125 inches beyond the trim line on each side. Without bleed, the printer cannot guarantee the ink reaches the edge after cutting.
Do not rely on the print provider to fix your file. Most shops charge a prepress fee for file correction, and some will reject the job outright if the file requires significant work. Preparing the file correctly on your end saves money and turnaround time.
The Print-Ready Checklist
Before you hit send, run through this checklist:
- File is in CMYK color mode (or you have confirmed the printer will handle RGB conversion)
- All fonts are converted to outlines
- All raster images are at least 300 DPI at final size
- Bleed is included if the design touches the edge
- File is saved as PDF (vector) or EPS
- Spot colors are defined as Pantone if color accuracy is critical
- You have reviewed the printer’s artwork specification sheet and matched every requirement
When to Hire a Professional vs. DIY
The decision to fix the logo yourself or hire a professional comes down to design complexity and your comfort with design software. Simple logos with flat colors can be traced with automated tools and a little cleanup. If you have Illustrator and pen tool experience, DIY conversion is viable.
Complex logos with gradients, shadows, fine text, or intricate details require professional attention. A designer can recreate the logo accurately, optimize paths for clean printing, and deliver a file that meets your provider’s specifications. The cost is often less than a botched print run.
| Situation | Recommended Approach | Why |
|---|---|---|
| Simple logo, flat colors | DIY with automated tracing | Fast and cost-effective |
| Logo with custom typography | Professional redraw | Automated tools distort letterforms |
| Gradient or photographic logo | Professional redraw | Cannot be accurately vectorized automatically |
| Rush order before season starts | Professional service | Avoids trial-and-error delays |
If you work with a print provider, ask whether they offer logo repair or vector conversion. Many shops can assess your file and recommend the best path forward. A low resolution logo does not automatically mean a poor result, but the file needs work before it is print-ready.
Fixing a low resolution logo is not about finding a magic filter that sharpens pixels. It is about converting your artwork to a vector format that scales cleanly, and preparing that file with the correct color profile and resolution for your print method. At Piercy Sports and Apparel, we handle high-resolution digital printing, premium embroidery, and screen printing, and we build durable designs that look vibrant on every order. Send us your logo file and we will help you get it print-ready with fast, reliable turnaround. Get Started with Piercy Sports and Apparel and bring your team or business identity to life.
Frequently Asked Questions
Can I just resize a small image to make it high resolution?
Simply enlarging a low resolution image in an editor stretches the pixels and makes the blurriness worse. The image becomes pixelated because there isn’t enough original data to fill the new space. To truly fix a low resolution logo, you need to either use an AI upscaler that adds detail or, ideally, convert the raster image into a vector file. Vector files use mathematical curves, making them infinitely scalable without any loss of sharpness.
What is a good DPI for printing a logo?
For most professional printing, including screen printing, your logo file should be at least 300 DPI at the final printed size. This ensures crisp, clean edges. If your file is smaller, like 72 DPI which is common for web graphics, it will likely print with visible pixelation. Always check the DPI in your image settings or software properties before sending your file to a print provider.
What is the difference between raster and vector files for printing?
Raster images (like PNG or JPG) are made of a grid of pixels, so they lose quality and become blurry when scaled up. Vector files (like SVG, EPS, or AI) are made of mathematical lines and curves, making them infinitely scalable without losing sharpness. For printing, a vector file is always preferred because it guarantees a clean, professional result at any size. If you only have a raster logo, it will need to be converted or recreated.
Can Piercy Sports and Apparel fix my low resolution logo if I send it to you?
Yes. We regularly work with customers who have low resolution logos. Our team can often rebuild or vectorize your logo to meet professional print standards. Send us the original file you have, even if it’s small or pixelated. We will assess it and recommend the best path forward. We will confirm the design with you before proceeding with your order.