Table of Contents
- What You’ll Need Before You Prepare Your Logo for Printing
- Vector vs Raster for Printing: Why the Difference Matters
- Logo Resolution Requirements for Apparel Printing
- Best File Format for Screen Printing and Other Methods
- Color Modes, Bleed, and Preparing Your Logo for Printing
- Common Print Errors and How to Fix Them Before You Submit
- DIY File Prep vs Sending Your Logo to a Professional Printer
- Frequently Asked Questions
Last Updated: September 1, 2026
What You’ll Need Before You Prepare Your Logo for Printing
Getting a logo ready for print is where most custom apparel orders go wrong. The design looks great on screen, but the print shop rejects it because the file is too low-resolution, saved in the wrong color mode, or missing bleed. At Piercy Sports and Apparel, we built this guide to help teams, schools, and businesses avoid the most common file prep mistakes.
Before you start, gather these essentials:
- The original logo file (ideally the source file from your designer)
- Access to design software such as Adobe Illustrator, Photoshop, or a free alternative like Inkscape
- Knowledge of which printing method your order uses (screen printing, digital printing, or embroidery)
- Your printer’s file submission specifications, including required formats and color profiles
The printing method matters more than most people realize. Screen printing, digital printing, and embroidery each have distinct file requirements. A file that works perfectly for one process can fail completely for another.
Vector vs Raster for Printing: Why the Difference Matters
The single most important concept in print file preparation is the difference between vector graphics and raster images.
Vector graphics are built from mathematical paths and anchor points. They scale to any size without losing quality. A vector logo printed on a business card looks exactly as sharp as the same file printed on a 10-foot banner. Common vector formats include EPS, SVG, and AI (Adobe Illustrator native).
Raster images are made of pixels arranged in a fixed grid. Scaling a raster file beyond its original resolution causes pixelation, which shows up on your finished apparel.
Most professional print shops require vector files (aiga.org). This is not a preference, it is a technical requirement for screen printing, where the artwork is separated into color channels and burned onto mesh screens.
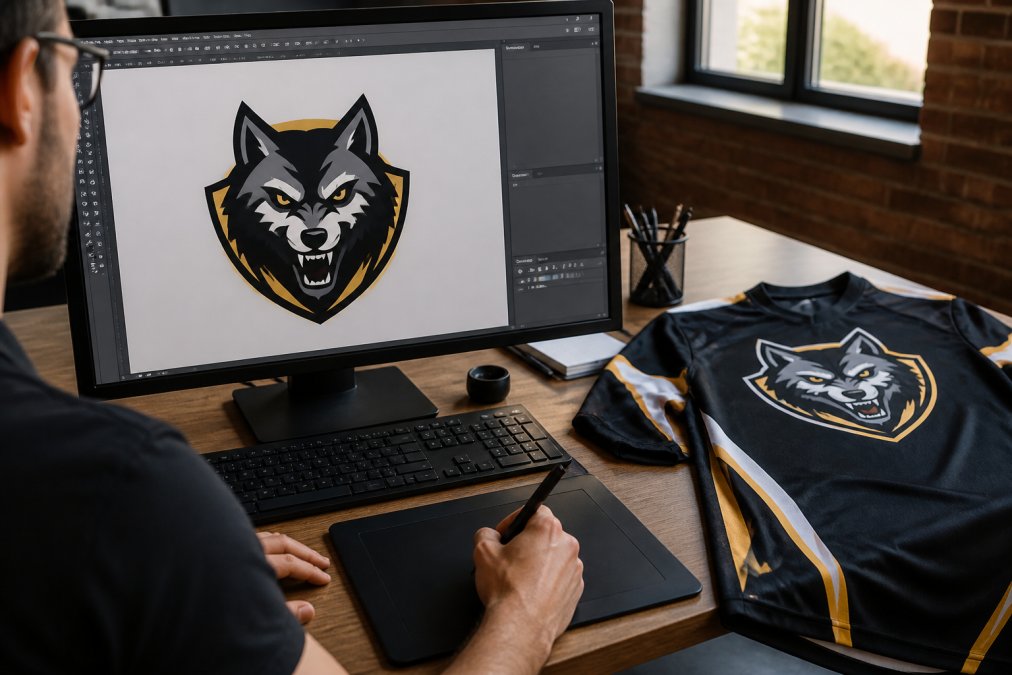
When Raster Files Cause Problems on Press
A raster logo submitted at 72 DPI (the standard screen resolution) will look acceptable on a monitor but will print blurry on fabric (peer-reviewed research). The press operator either rejects the file or scales it down until it is small enough to print cleanly, which often means your logo ends up postage-stamp sized on a jersey.
Raster files also cause problems when a print shop needs to separate colors for screen printing. The process requires clean, hard edges between color areas. A JPEG or PNG with anti-aliased edges creates a fringe of blended pixels that bleeds between screens, producing muddy color registration on the finished garment.
How to Convert a Raster Logo to a Vector File
You cannot simply “convert” a raster file to a vector in one click and expect professional results. Auto-trace tools in Illustrator (Image Trace) or Inkscape (Trace Bitmap) can produce usable results for simple logos with clean shapes and limited colors, but complex artwork or low-resolution originals will require manual redraws.
Steps for a basic auto-trace conversion:
- Open your raster image in Adobe Illustrator
- Select the image and open the Image Trace panel
- Set the mode to “Black and White” or “Color” based on your logo
- Adjust the threshold and paths settings until edges look clean
- Click “Expand” to convert the trace to editable vector paths
- Review every path manually and correct any jagged or broken edges
- Save as EPS or PDF for print submission
For logos with gradients, fine detail, or multiple colors, a professional redraw is the more reliable option.
Logo Resolution Requirements for Apparel Printing
For apparel printing, the standard minimum is 300 DPI at the final print size (printing.org). That last part is critical: 300 DPI at the size it will actually appear on the garment, not at thumbnail size.
A file that is 300 DPI at one inch becomes effectively 75 DPI when scaled to four inches. Check with your printer before assuming 300 DPI covers all methods, as screen printing shops sometimes request vector files exclusively.
DPI vs PPI: What Each Setting Controls
PPI (pixels per inch) describes the pixel density of a digital image file. It is the setting you control in Photoshop or any raster editing application.
DPI (dots per inch) describes the output density of a physical printer. It describes how many ink dots the printing device lays down per inch on the substrate.
For practical purposes when preparing artwork, focus on PPI in your file. Set it to 300 PPI at the final print size.
Best File Format for Screen Printing and Other Methods
The best file format for screen printing is EPS or PDF saved from a vector application. Both formats preserve scalability, support CMYK color profiles, and are universally accepted by professional print shops. For digital printing and direct-to-garment methods, high-resolution PNG files with transparent backgrounds are also widely accepted.
|
Format |
Best For |
Supports Transparency |
Vector or Raster |
|---|---|---|---|
|
EPS |
Screen printing, offset printing |
Yes (in vector apps) |
Vector |
|
PDF (print-ready) |
All print methods |
Yes |
Both |
|
SVG |
Web, digital printing |
Yes |
Vector |
|
PNG (300 PPI) |
Digital/DTG printing |
Yes |
Raster |
|
JPEG |
Reference only |
No |
Raster |
EPS and PDF: The Print Shop Standards
EPS (Encapsulated PostScript) has been the industry standard for print artwork for decades. EPS files saved from Illustrator with outlined fonts and embedded color profiles represent a reliable format for commercial print production.
PDF is equally reliable when exported correctly. A print-ready PDF preserves vector paths, embeds fonts, includes bleed and trim marks, and locks the color profile. In Illustrator or InDesign, use the “PDF/X-1a” or “PDF/X-4” preset, which is specifically designed for print production.
Both formats support CMYK color profiles, which is essential for accurate color matching on press.
PNG and SVG: When They Work and When They Don’t
PNG files work well for digital printing and direct-to-garment (DTG) printing when prepared at 300 PPI with a transparent background. They do not work for screen printing because they cannot carry the separated color channels that the screen-making process requires.
SVG files are vector-based and scale cleanly, but not all print shop workflows accept them natively. Always confirm with your printer before submitting an SVG.
Color Modes, Bleed, and Preparing Your Logo for Printing
Color mode is the second most common reason files get rejected. Submitting artwork in RGB when the printer needs CMYK produces color shifts that can be significant, particularly for brand colors that rely on specific hue accuracy.
CMYK vs RGB: Choosing the Right Color Profile
RGB (Red, Green, Blue) is the color model used by screens, cameras, and monitors. It produces a wide color gamut that includes bright, saturated colors screens can display but physical inks cannot reproduce.
CMYK (Cyan, Magenta, Yellow, Key/Black) is the color model used for physical printing. It describes ink percentages mixed to create colors on a substrate. The CMYK color gamut is smaller than RGB, which means some colors visible on screen cannot be exactly reproduced in print.
Converting from RGB to CMYK without reviewing the output can cause significant color drift, particularly in bright blues, oranges, and purples.
Convert your file to CMYK in your design application before submitting, then review the converted colors on a calibrated monitor or request a proof sheet from your printer. If your logo uses a specific Pantone color, provide the Pantone number alongside your CMYK values.
Bleed, Trim Marks, and Transparent Backgrounds
Bleed is the extension of artwork beyond the trim edge of a printed piece. Standard bleed for most print work is 0.125 inches (1/8 inch) on all sides.
Trim marks (also called crop marks) are the thin lines outside the bleed area that tell the printer where to cut.
For apparel printing specifically, bleed and trim marks are less relevant because garments are not trimmed after printing. What matters more is a transparent background. Submit your logo as a PNG or EPS with the background removed. A white background will print as a white rectangle on a colored garment.
Before submitting any file containing text, convert all fonts to outlines (also called “curves” in some applications). This embeds the letterforms as vector paths and prevents font substitution errors.
Common Print Errors and How to Fix Them Before You Submit
Most file rejections fall into a short list of repeatable errors.
Error: Low-resolution artwork Fix: Confirm your file is 300 PPI at final print size, or provide a vector source file. Do not attempt to “increase resolution” in Photoshop by resampling upward.
Error: Wrong color mode (RGB submitted instead of CMYK) Fix: Convert to CMYK in your design application and review all colors after conversion.
Error: Missing transparent background Fix: Remove the background layer in Photoshop or Illustrator and save as PNG or EPS with transparency preserved.
Error: Fonts not outlined Fix: In Illustrator, select all text and go to Type > Create Outlines. In Inkscape, use Path > Object to Path.
Error: Embedded raster images inside a vector file Fix: Re-examine your EPS or PDF in Illustrator. If placed images appear, they need to be redrawn as true vector paths or replaced with high-resolution raster alternatives.
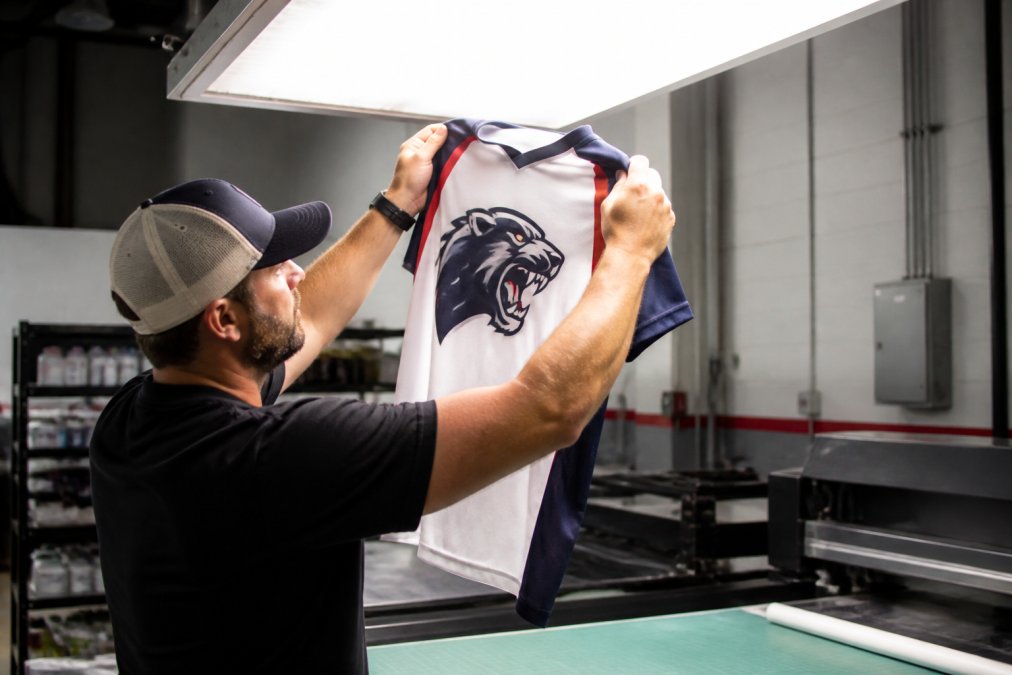
DIY File Prep vs Sending Your Logo to a Professional Printer
The decision between preparing files yourself and relying on a professional comes down to three factors: the complexity of your logo, your access to proper software, and the stakes of the final product.
DIY file prep makes sense when your logo is simple (two or three solid colors, clean geometric shapes), you have access to Adobe Illustrator or an equivalent vector application, and you have time to iterate through a proof cycle.
Professional preparation is the better choice when your logo is only available as a low-resolution JPEG or PNG, the artwork contains gradients or photography, the order is time-sensitive, or the garments represent your team or business identity at a high-visibility event.
Many print shops offer artwork assistance as part of their order process. A shop that handles file prep in-house can often catch and correct problems faster than a back-and-forth email chain with an outside designer.
For teams and organizations submitting orders to Piercy Sports and Apparel, our team works directly with clients to ensure artwork is print-ready before production begins. Knowing how to prepare your logo for printing yourself gives you more control over the process, but having a partner who can catch what you miss is the practical safety net most orders need.
Preparing a logo for printing correctly the first time saves time, prevents costly reprints, and ensures your team or brand looks exactly as sharp on fabric as it does on screen. Get started with Piercy Sports and Apparel and bring your artwork to a team that specializes in high-resolution digital printing, premium embroidery, and screen printing, with fast turnaround times and tailored solutions built around your specific order.
Frequently Asked Questions
What file format is best for printing a logo on apparel?
EPS and PDF are the two formats most print shops prefer because they store vector graphics, which scale to any size without losing sharpness. SVG is also acceptable for digital printing. PNG files at 300 DPI or higher can work for smaller decorations, but they are not ideal for screen printing. When preparing a logo for printing on apparel, always confirm the format your printer requires before sending artwork.
Why does my logo look blurry when printed?
Blurry or pixelated results almost always come from low-resolution raster files. If the original image is under 300 DPI at the final print size, the printer has no extra pixel data to work with, and the artwork degrades. A logo saved as a small JPEG and then scaled up is the most common cause. Switching to a vector file, which has no fixed resolution, eliminates this problem entirely because the artwork scales without any loss of quality.
What is the minimum resolution for printing a logo on apparel?
For raster images used in digital printing or direct-to-garment work, 300 DPI at the intended print size is the standard minimum. Dropping below that threshold produces visible pixelation, especially on large chest prints or back graphics. For screen printing, resolution is less critical because the process uses vector separations, but the source artwork should still be built at 300 DPI or higher if raster elements are involved.
Do I need a transparent background for my logo?
Yes, in most cases. A transparent background, saved as a PNG or EPS with no fill, lets the printer place your artwork directly on the fabric color without a white or colored box appearing around the design. This is especially important for screen printing and embroidery digitizing. If your logo has a white background baked into the file, the printer may need to manually remove it, which can delay your order or result in unexpected color in the final print.
This article was written using GrandRanker